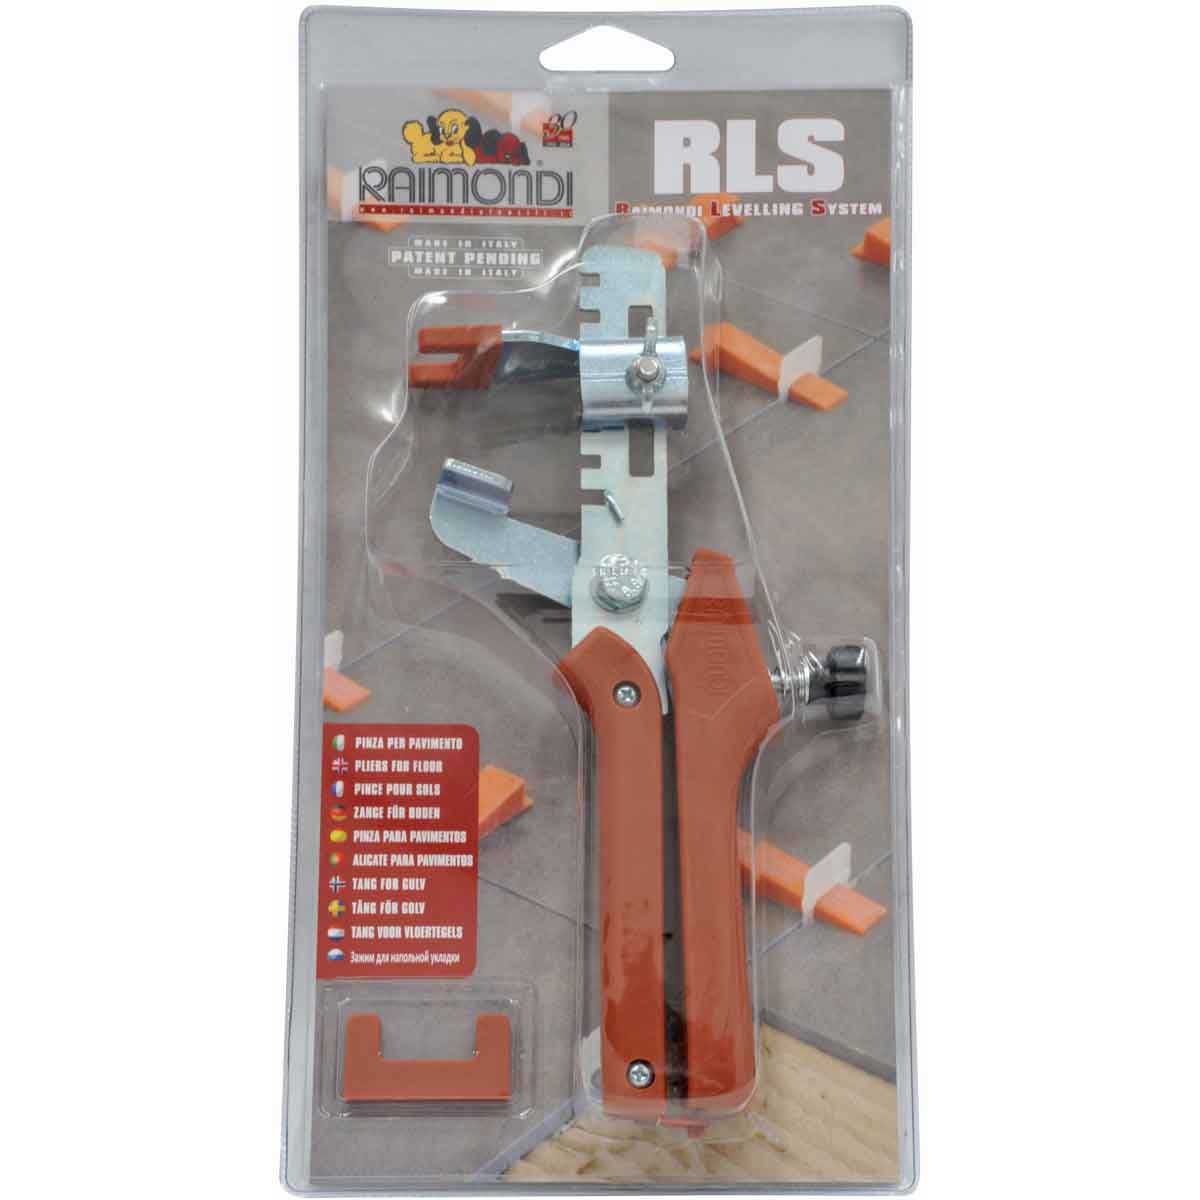
Raimondi Tile Leveling System Pliers, RLS
Raimondi Leveling Spacers have been sold in Europe for quite a few years and finally we're able to introduce them to you!
Features
- If you're a tile installer, you're well aware of how difficult it is to properly set flexible, large format, heavy, or low-thickness tiles because, often times, the floor foundation is uneven and/or contains imperfections
- Tiles that seemed uniformly leveled while first installing them can show differences as the tile adhesive sets, compromising the overall aesthetics of your initial hard work
- With the Raimondi Leveling Spacers, this potential is no longer a threat to your perfect tile project
- In addition to ensuring the proper leveling of tiles, this system helps speed the tile setting process
- Greatly improves the overall quality of your tile project
- Both installation and removal of the spacers are quick and easy!
- Sturdy Tile Wedge holds tiles better than competitors
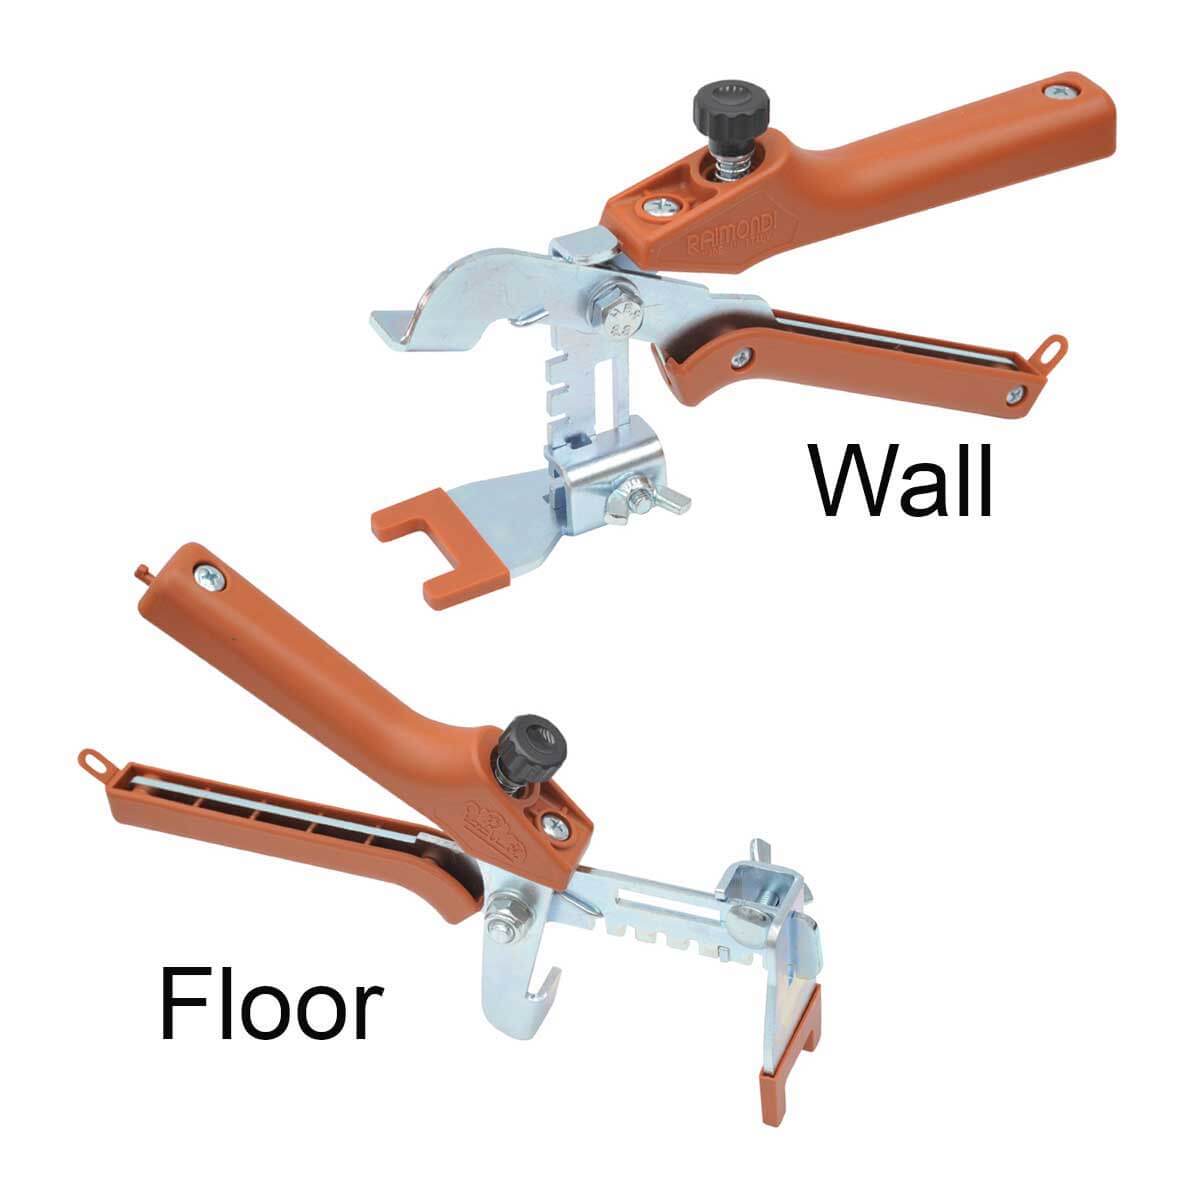
- Works well with both Wall and Floor projects!
- Tiles are not pulled from the thinset, they're pushed into it
- Rather than worrying about voids and coverage, RLS spacers further enhance your thinset adhesion to your tiles!
Technical Data
-
Wedge size: 3-1/2" Long x 3/4" Wide
- 1/16'' Regular Leveling Clip (clear): For use with 1/8" to 1/2" thick tile, 1/16'' joint
- 1/8'' Regular Leveling Clip (red): For use with 1/8" to 1/2" thick tile, 1/8'' joint
- 1/16'' Large Leveling Clip (white): Recommended for use with 1/2" to 3/4" tile, 1/16" joint
- Minimum required joint size: 1/16", (1.5mm), maximum joint size: 1/8" (3mm)
- Minimum tile thickness required: 1/8", (3mm), maximum tile thickness: 3/4" (20mm)
How to use
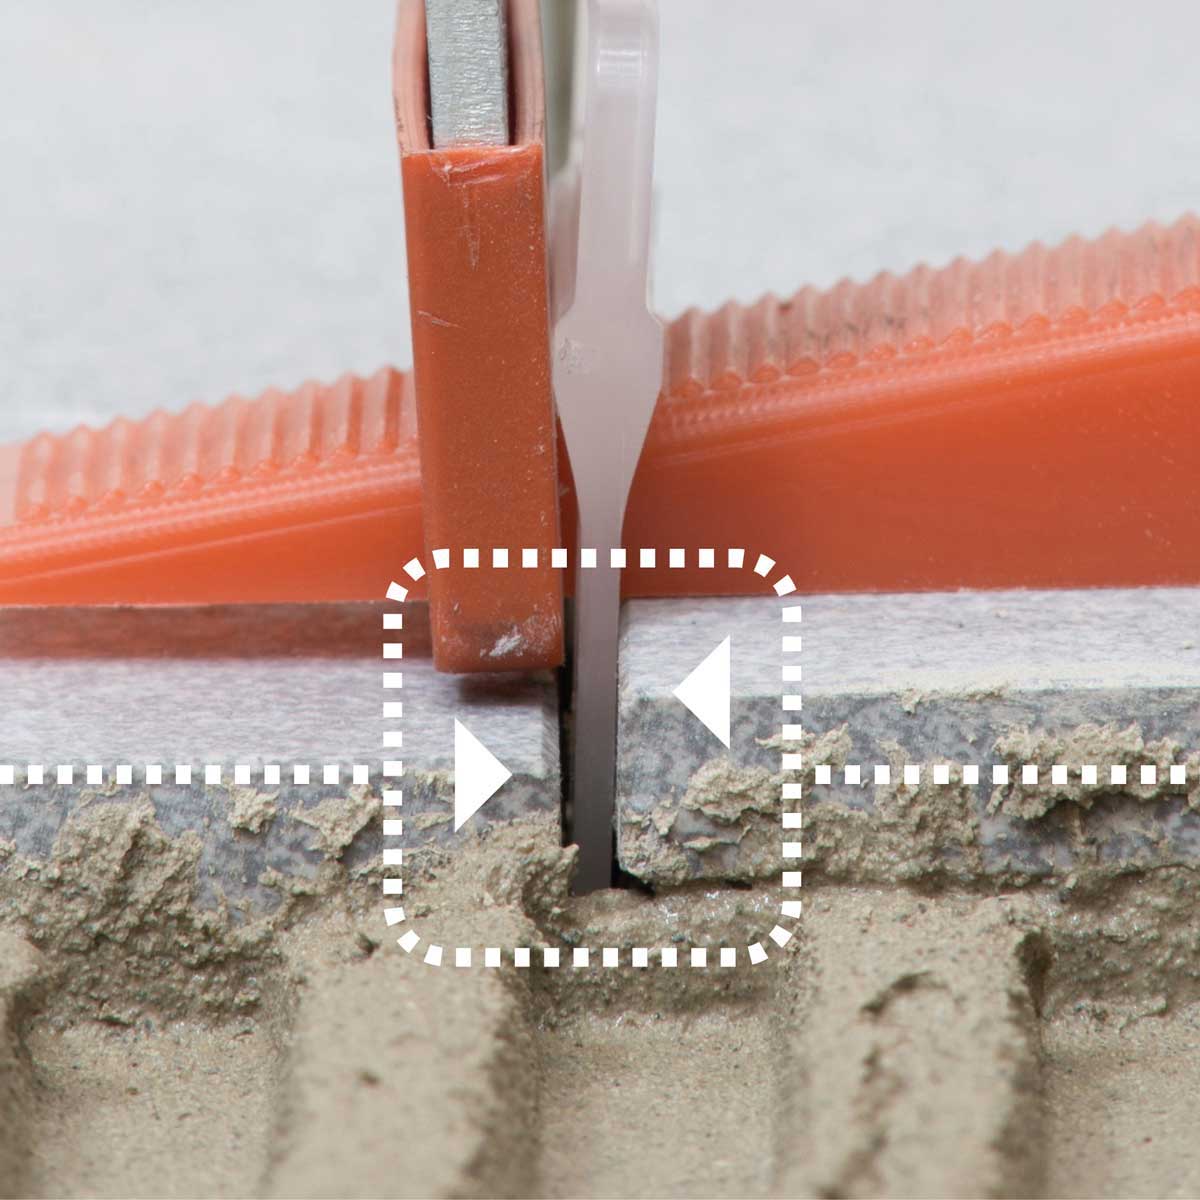
- STEP 1: After spreading your tile adhesive, insert leveling spacer underneath the tiles along the 4 sides, use traditional spacers as you normally would to square up the corners. For larger tiles, it may be necessary to "double up", using 2 leveling spacers for each side
- STEP 2: Set the tile and beat it with a rubber mallet
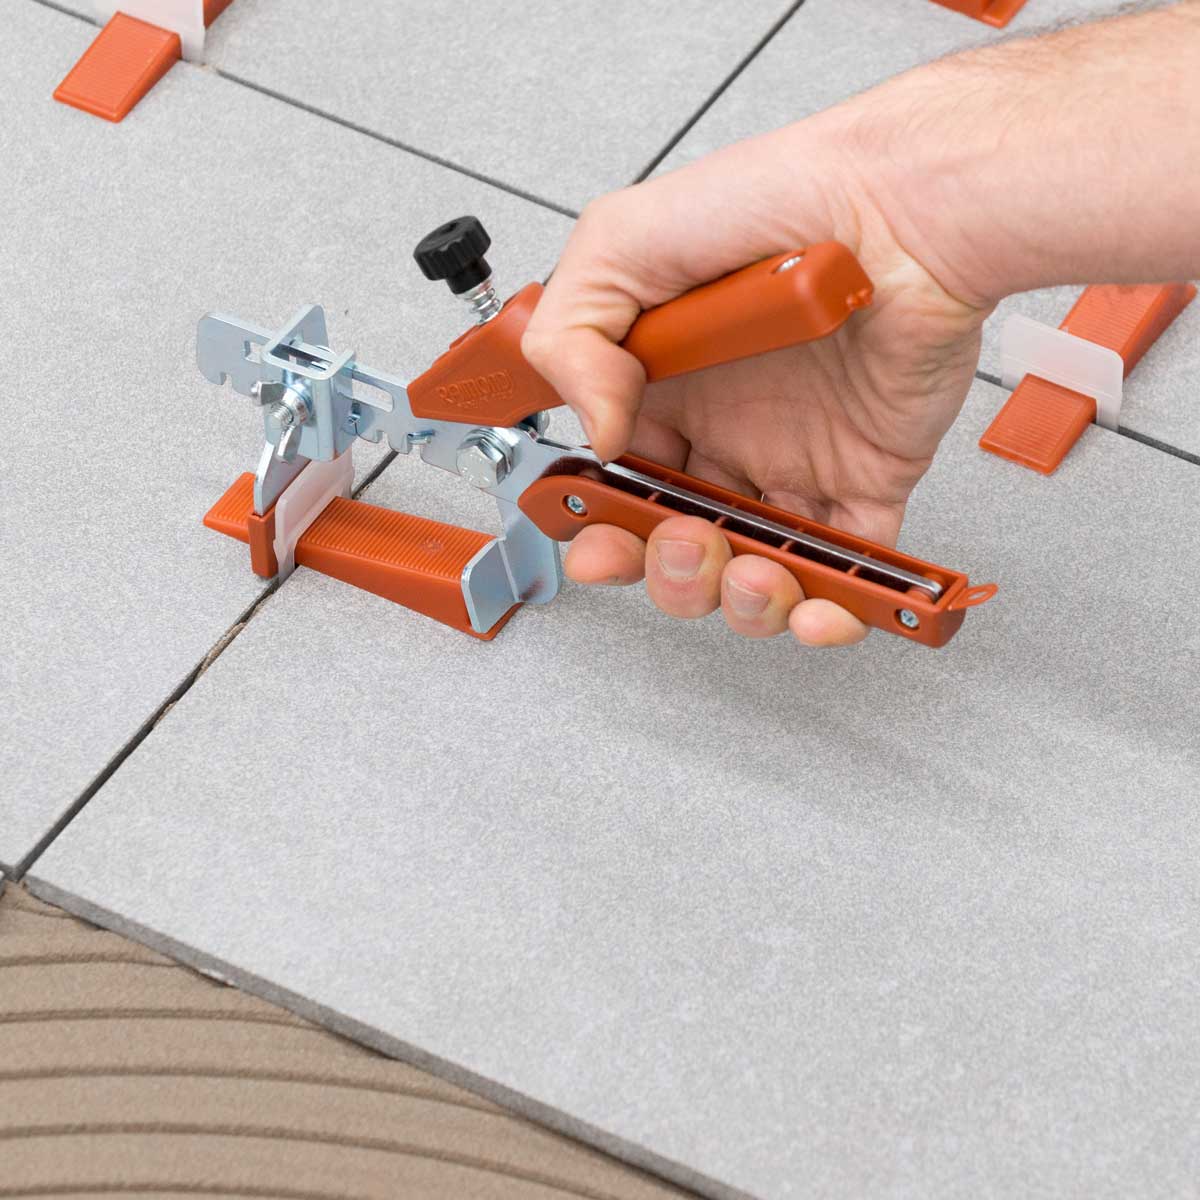
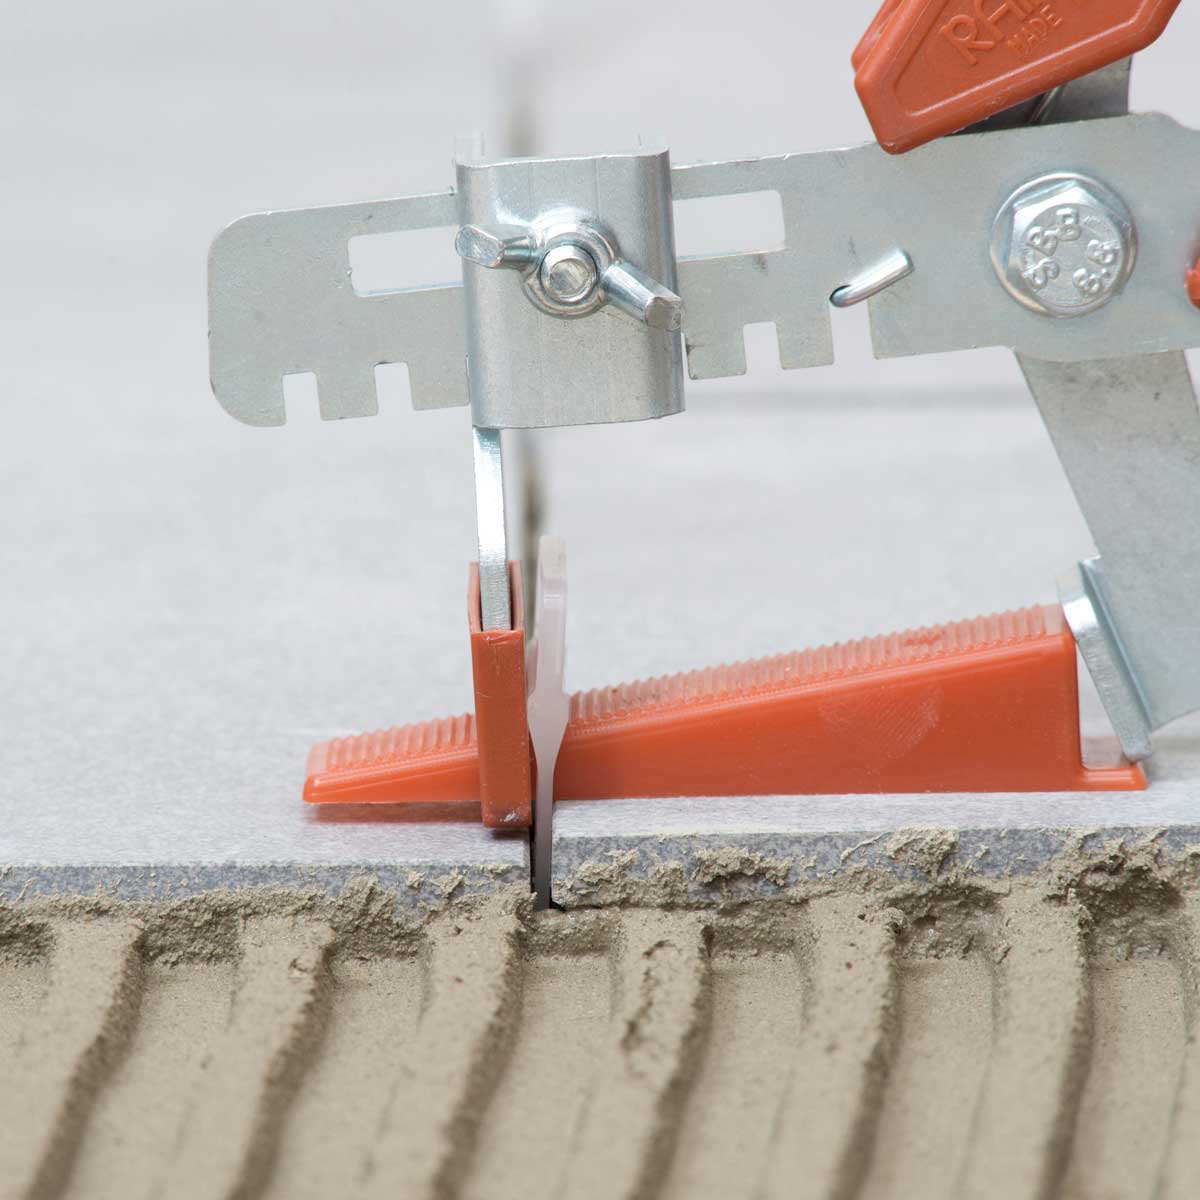
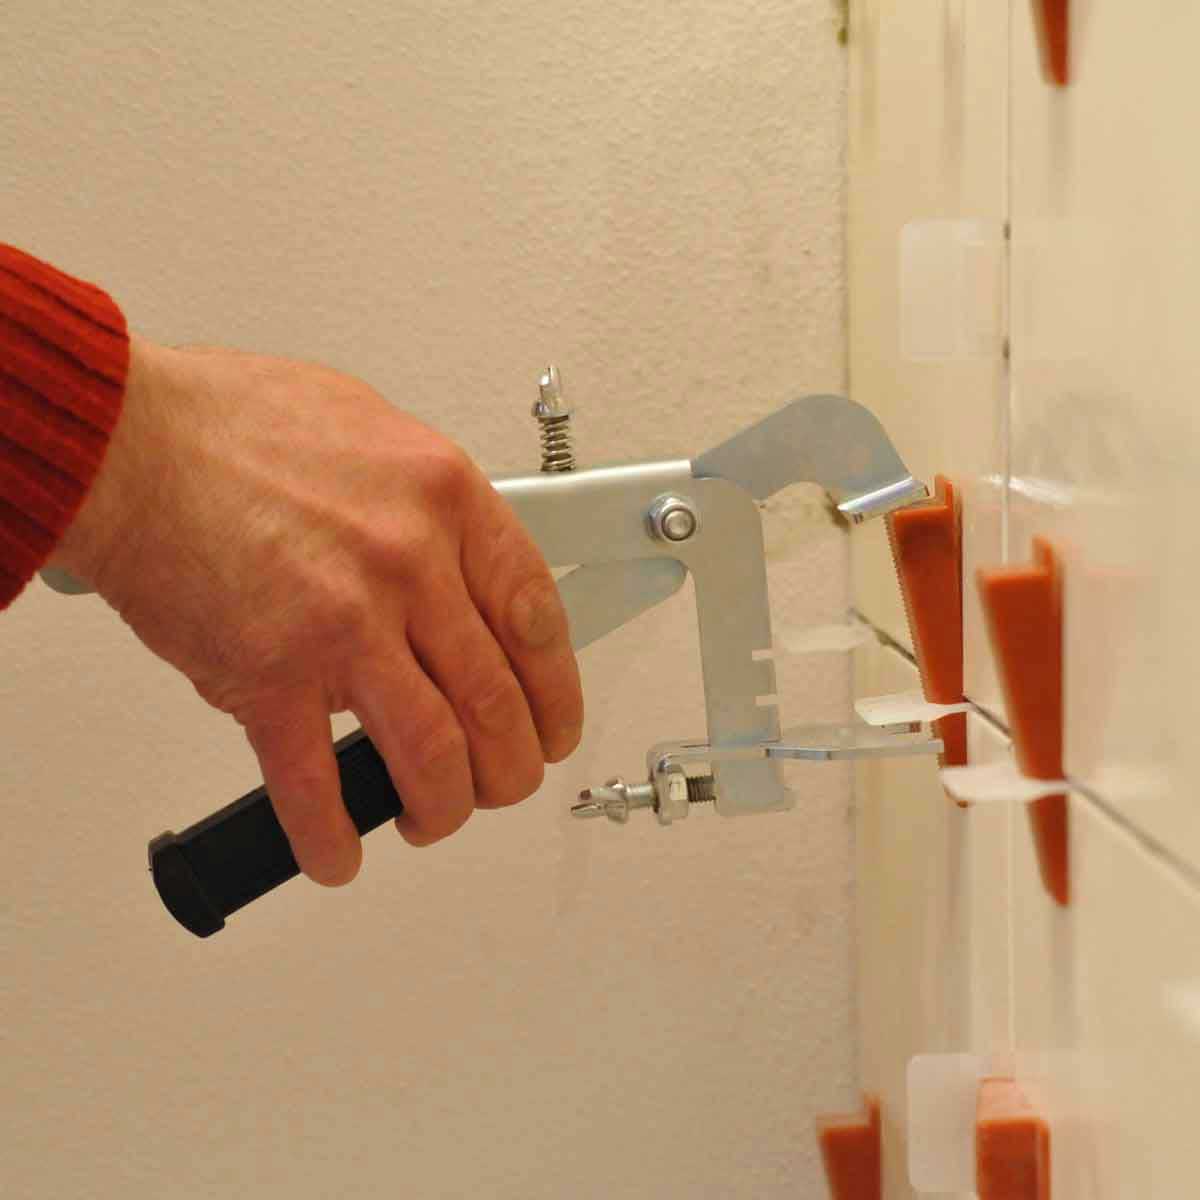
- STEP 3: Use the special traction-adjustable pliers to insert the wedge into the leveling spacers, paying attention not to pass the breakpoint
- STEP 4: Once the tile adhesive has been allowed to set. Remove the leveling spacers with the traction-adjustable pliers, rubber mallet, or kicking them out with your feet
|


 My Account